
How do we operate?
Our service process
Dive into our process and what to expect with your booked services.
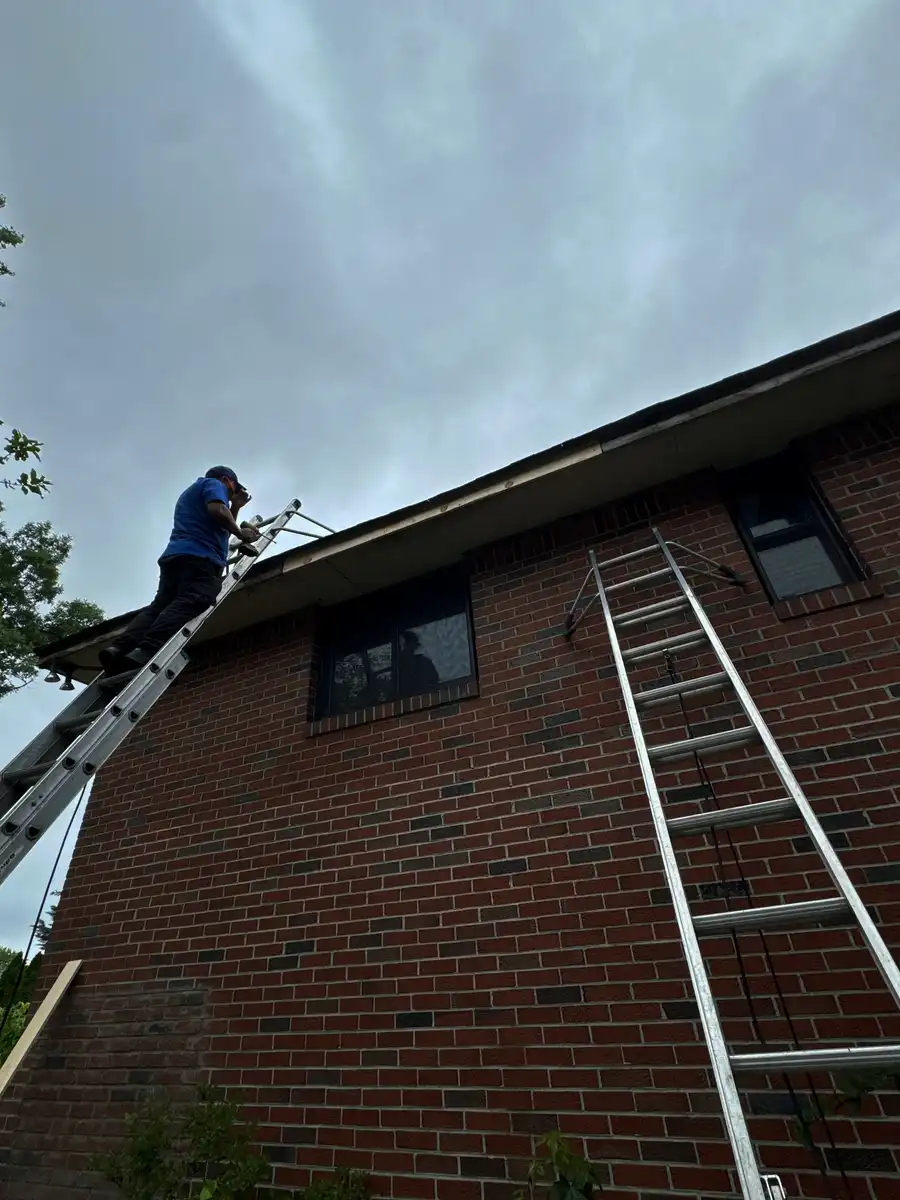
General Service Process
Overview of our standard service procedures.
Estimate and Approval
Once you approve an estimate online or over the phone, the service request is sent to our scheduling team.
Scheduling and Notification
We aim to perform all services within 3 weeks of approval. Customers receive email and text notifications with the service date.
Service Day Notifications
The day before the service, we send an approximate time of arrival. On the day of service, customers receive a text when the crew is on their way.
Completion and Payment
If the customer is home, they can pay the crew by cash, check, credit card, and Venmo. If not, we will charge the card on file and send an automatic email receipt.
Customer Notification
The customer is notified of the completion of the service, any issues found and other important details. Notes are available in our office in real-time. For chimney cap installations, we provide details of the installation and maintenance tips.
Satellite Technology for Estimates
Many estimates are created using satellite technology. Our crew re-measures areas before starting work to ensure accuracy, and customers are responsible for the final invoice based on actual measurements.
Gutter Cleaning Process
Discover our method to keep your gutters debris-free and functioning optimally.
Pre-Service Inspection
Our team arrives and conducts a preliminary inspection to assess the gutter system’s condition and identify any immediate concerns.
Debris Removal
Every cleaning includes cleaning your gutters out by hand. We collect debris in bags and leave them by the curb or trashcan.
Flushing and Inspection
When water is available, we flush gutters and downspouts; otherwise, we dry clean them. We report any repairs needed.
Quality Control
Our experienced crew fills out a quality control checklist to ensure rigorous guidelines are followed.
Cleanup and Notification
We clean up the area. Diamond and Diamond Plus: Before and after photos with every cleaning. Otherwise we take before-and-after photos only if you ask before the visit (see our Terms).
Gutter Repairs Process
We inspect your gutters and downspouts, give you an estimate, and discuss hidden problems before further work.
Cleaning and Inspection
We recommend a gutter cleaning first — it's the best way to see what needs fixing. Before any repair we inspect the gutters and downspouts and give you an estimate.
Repair Scope and Estimate
Re-sealing corners (miters) and end caps; Downspout repair, replacement and extensions; Adding a downspout to an existing gutter; Diverter installation; Gutter reinforcement; Re-pitching gutters so water flows to the downspouts. We need to see what's failing before we can price a repair. We give you an estimate first.
Hidden Problems
Hidden problems found during the work are discussed with you before we go further.
Gutter Installation Process
Explore our precise installation process for new gutters.
Consultation and Estimate
Book an in-person estimate, or we can measure from satellite images when that's possible.
Custom Manufacturing
New seamless gutters are made on the spot. Seamless aluminum K-style gutters, 5" or 6", .032 gauge, with hidden hangers. Copper K-style gutters are available too (not half-round, and nothing that needs soldering). A range of colors — we'll show you the options at your estimate.
Installation
Our crew uses leveling tools and performs a water test to ensure proper alignment and secure attachment.
Final Inspection and Cleanup
A thorough inspection is conducted, and we clean up the site, leaving your property tidy.
Customer Walkthrough
We provide a walkthrough to explain the new system and answer any questions.
Siding Soft Wash Process
See our low-pressure soft wash method for cleaning your siding.
Initial Assessment
We assess the siding to identify areas of concern and determine the best cleaning approach.
Preparation
The area is prepared by moving any sensitive items out of the way. Customers should prepare in advance based on our siding soft wash terms and conditions. An outside water faucet with steady pressure (we can't use pool or pond water). Exterior electrical outlets switched off. Windows and doors closed tightly, and pets kept inside. Delicate plants: tell our crew beforehand and, if you can, move potted plants away from the house. Point out any known damage before we start.
Application of Cleaning Solution
A low-pressure soft wash uses a cleaning solution to remove algae, mildew and dirt from vinyl, brick, stucco, aluminum and wood/cedar siding. For wood surfaces, a wood conditioner is applied post-cleaning.
Low-Pressure Rinse
The siding is rinsed with low-pressure water to remove the solution and contaminants.
Final Inspection
We inspect the siding to ensure thorough cleaning.
Roof Soft Wash Process
Understand our gentle yet effective roof soft wash method.
Roof Inspection
We inspect the roof to assess its condition and identify areas with algae, moss, and lichen.
Preparation
The area is prepared by moving any sensitive items out of the way. Customers should prepare in advance based on our roof soft wash terms and conditions. An outside water faucet with steady pressure (we can't use pool or pond water). Exterior electrical outlets switched off. Windows and doors closed tightly, and pets kept inside. Delicate plants: tell our crew beforehand and, if you can, move potted plants away from the house. Point out any known damage before we start.
Application of Cleaning Solution
A cleaning solution is applied at low pressure to kill algae, moss, mold and lichen on shingle, slate, cedar or metal roofs.
Dwell and Results
The cleaning solution keeps working as rain rinses it away. Stains clear within 3 to 6 weeks.
Final Inspection
We perform a thorough inspection to ensure the roof is fully treated. Results vary by roof: granule loss on older shingles, aging cedar, chipped slate or oxidized metal can look more noticeable after cleaning.
Pressure Washing Process
Discover our high-powered process for cleaning outdoor surfaces.
Initial Assessment
An assessment to determine the appropriate pressure and cleaning solution for your surfaces.
Preparation
Clear furniture, plants and other objects from the areas to be washed. An outside water faucet with running water (we can't use pool or pond water). Keep pets and plants inside or away from the area.
Application of Cleaning Solution
Our technicians may add the same cleaning solution we use for soft washing to treat algae and fungus.
Pressure Washing
High-pressure water is used to remove dirt, grime, and stains from the surface.
Additional Services
Paver re-sanding is available as an additional service.
Final Inspection
We inspect the cleaned area to ensure thoroughness and quality.
Window Cleaning Process
Learn about our water-fed pole system for exterior windows.
Assessment and Preparation
An assessment to identify the type and condition of your windows. Customers should follow our window cleaning terms and conditions to prepare for the service ahead of time. We clean the outside of your windows only — we don't come inside. Please remove your screens before we arrive. We can clean your screens too, for an extra charge per screen. Window sills aren't included.
Cleaning
A water-fed pole with a 3-step purified water system (deionizing, reverse osmosis and carbon filtration) and a brush — no cleaning solutions.
Rinsing
Rinsing with purified water.
Final Inspection
Inspecting the windows after cleaning and noting any issues.
Dryer Vent Cleaning Process
Understand how we clean your dryer vent using specialized tools.
Initial Assessment
Assessing the dryer vent to determine the level of buildup and blockage.
Cleaning
We clean your dryer vent with compressed air and a spinning reverse head on a small hose. We clean your dryer vent from outside your home. Our crew doesn't need to come inside.
Final Inspection
Inspecting the vent to ensure it is clean and free of blockages.
Chimney Cap Installation Process
Discover our process for installing chimney caps to protect your home.
Initial Consultation
Each cap is sized to your flue, so we take a look before we quote.
Preparation
Preparing the chimney for cap installation.
Installation
We install stainless steel chimney caps only, supplied by Tav Gutters. Caps are installed securely to keep debris, water, and animals from entering.
Final Inspection
Ensuring the cap is properly installed and secure.
Already booked? Sign in to your account.
Important Information
For estimates based on the size to be cleaned or installed, including but not limited to patio, deck, fence, pool decking, walkway, sidewalk, driveway, and concrete cleaning and gutter installation and repairs; satellite technology is used for accurate estimates, with final pricing based on actual measurements.
For more detailed information please review our Terms and Conditions.
Ready to take care of your home?
See your price online and choose your service.
Existing customer? Sign in to your account